Kitchen Cabinet Facelift {Quick Fix}
We have been busy lately working around the house (the backyard mostly). So much trash, debris and dead trees have been left behind by the last tenants that cleaning up has become overwhelming. At the same time, we are enjoying our darling little boy while familiarizing ourselves with the area.
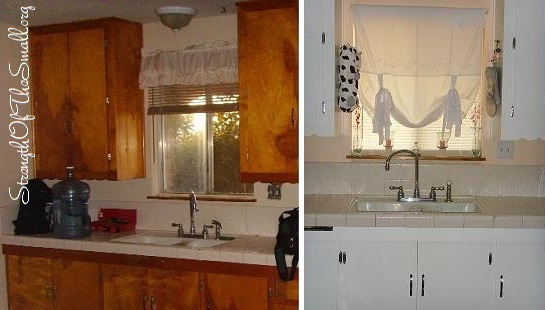
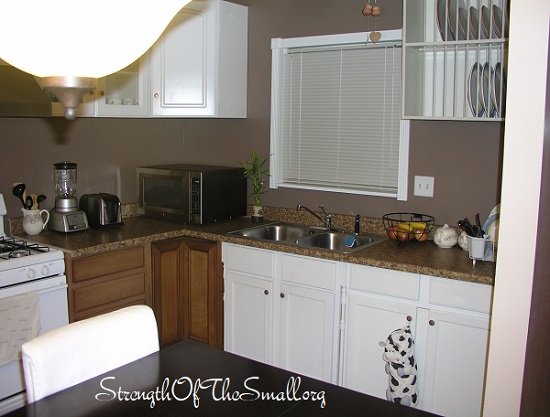
Giving our busy schedules, we have been unable to install new cabinetry. However, we did the next best thing, which is giving the kitchen cabinets a new facelift (a quick fix until we are ready to tackle the big project).
I love vintage cabinets with gorgeous edging; however, given that we have a tiny kitchen, the Maple color not only made it look even smaller, but ugly too. We painted the cabinets white.


Materials/Tools Needed:
- Screw driver (to take down the hinges and handles on the doors and put them back up)
- Your choice of Paint/Spray Paint
- Paintbrush/Sponge brush (if you’re using Paint and not Spray Paint)
- Painter’s Tape (if the wall and ceiling colors are not the same as the one you’ll be using for your cabinets)
- Cardboard, plastic bag, news papers (to place your cabinets doors on)
How to proceed:
- Use your screw driver to unscrew the hinges to take down the doors and place them on your work area.
- Clean the cabinets to ensure the paint will latch on evenly.
- Start painting in a well ventilated area and let it dry at least one hour.
- When you’re done and satisfied, screw the hinges and handles back in place.
You are now ready to enjoy your kitchen cabinets until you decide to install new ones.
