DIY: Sheep Craft
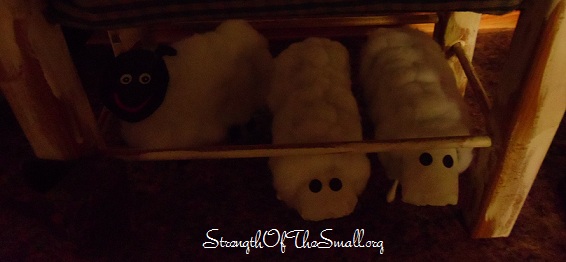
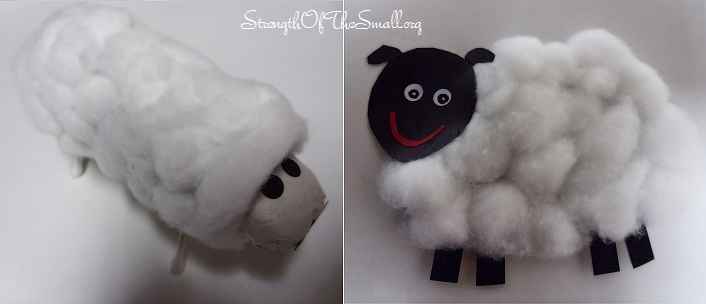
We treasure weekends in my home as it is our moment to unwind and let our creativity go wild. After bike riding around the block, we decided to work on some crafts with the kids. From all the creations we made, they enjoyed the Sheep Crafting the most and we had so much fun making them. I am sharing the tutorial with you and hope you enjoy making them as much as we did. This are some of the little things I refer to as “Strength of the Small.” They move me and I respond positively.

Materials Needed:
- Construction Paper/ Toilet Paper Roll (for body, head, ears, eyes, nose and/or legs)
- Styrofoam Balls (for head)
- Googly Eyes
- Scissors
- Cotton Balls
- Q-tips/Straws/Toothpick/ Wooden Skewers (for legs)
- Craft Glue
- Yarn (for mouth)
- Wrapping Paper/Tissue Paper/Toilet Paper (for face)
- Sharpie Marker (for eyes, mouth)
Step by step:
- In the absence of toilet paper roll, cut out a rectangular piece of paper and roll it to form the body of the sheep or use a white construction paper to cut out the body shape.
- Use a black construction paper to trace the faces and legs and then cut out the pieces or either glue a styrofoam ball onto the body or insert a tissue paper through the toilet paper roll to form the face.
- Make 4 holes on the body to pass the q-tips/wooden skewers through and glue them to form the legs.
- Apply glue onto the body and cover it with cotton balls
- Glue the googly eyes or use a sharpie marker to trace the eyes and mouth. You could also use a yarn or a cut out for the mouth, ears, and nose and glue them on the sheep’s face.
- Use your sharpie markers to add colors

Based on the picture of the sheep you’re trying to make, follow the steps that apply to you.
