DIY: Reclaimed Wood Pergola
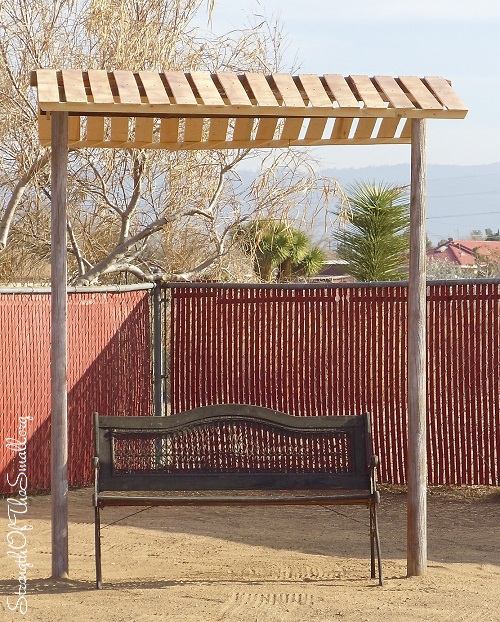
This afternoon we finished putting together a Pergola we built entirely from reclaimed wood and pieces of a dismantled wooden pallet. We decided on a canopy that not only provided some shade, but also resemble that of a water well in case we decide to change the design later on.

Materials/Tools Needed:
|
|
Step by step:
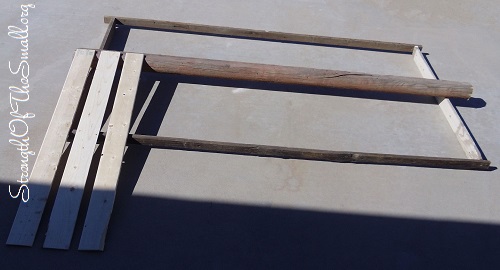
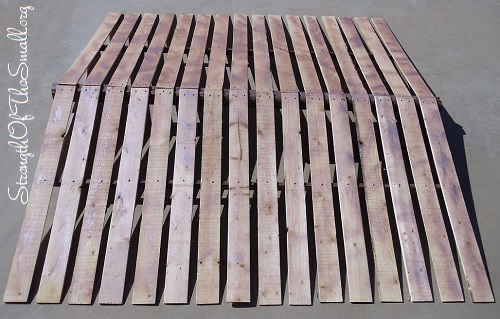
- We used screws to fasten the pieces of wood together and used a scrap piece of wood to keep the spacing between pieces even. Once done we sprayed the top to give it a slightly weathered look.


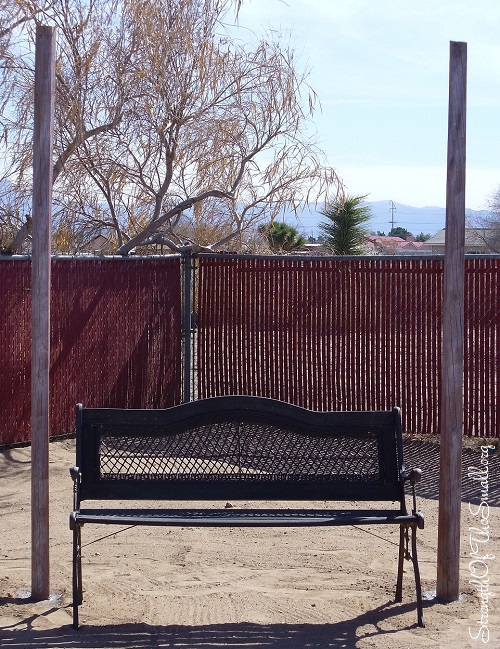
- Once the canopy was finished we measured the distance between the two ends of the canopy to determine the post spacing. The measurement was then used to dig the holes according to the spacing. We used almost a whole 90 lb bag of cement to secure the posts. All we did was dig the holes, add water to the cement after pouring some in the bucket and mixed it. We poured it onto the hole and inserted the post making sure to keep it straight. We repeated the same steps for the second post and used a rope to tie the two posts together to maintain the spacing.
- After 20 hrs of drying the cement was ready to take the weight of the canopy so we proceeded to lift it and place on top of the posts. We used 10 inch screw to screw the cross-piece of the canopy onto the top of the post after using a drill bit to drill a hole to guide the screw. Once screwed in, we finished fastening the rest of the canopy and did the finishing details.

A weekend project that we will enjoy for years to come.
