Upcycling & Recycling

Wicker Wall Hanging Baskets

JM Perez By JM Perez1 min read1.4K views

I love wreaths and I have a couple for each season; however, I have been thinking about making some changes in the decor style. I thought about an item I have in every single space around the house, and the majestic wicker baskets came to mind. I have so many storage wicker baskets in the house, in various sizes and colors. They are really neat, great for displaying items, organizing as well as keeping  things out of sight. They are so versatile and make great accent pieces.

Not too long ago, I rekindled my love for wicker wall hanging baskets. I am enamored with the idea of stuffing them with flowers and hanging them on doors and walls, like the ones below:
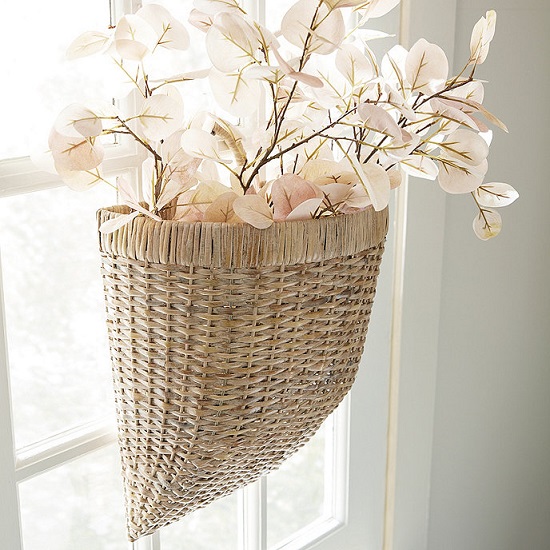
Seaside Hanging Basket.
Image Source: BallardDesigns.com.
Aubrey Woven Hanging Basket.
Image Source: PotteryBarn.com.
Dollar Store Hanging Flower Basket.
Image Source: ThePorchSwingStore.com.
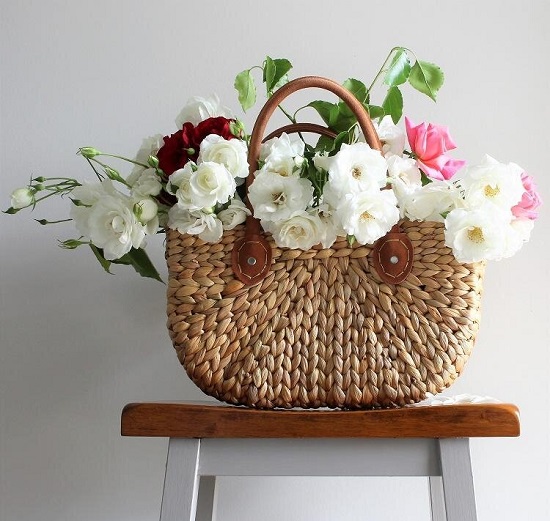
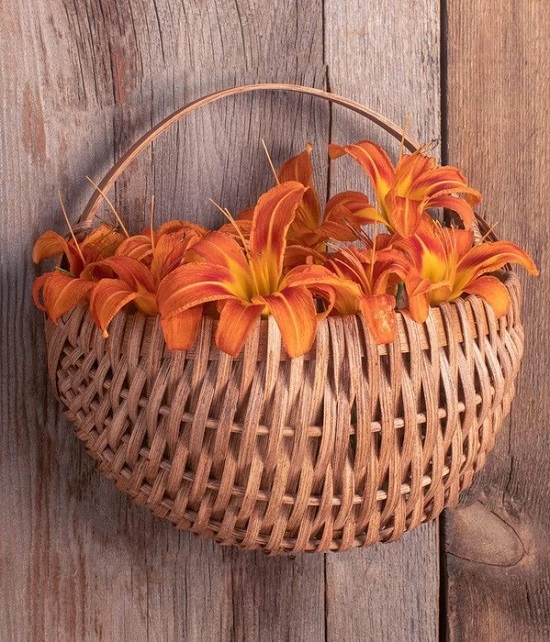
Harvest Basket.
Image Source: HouseOfBloom.com.au.
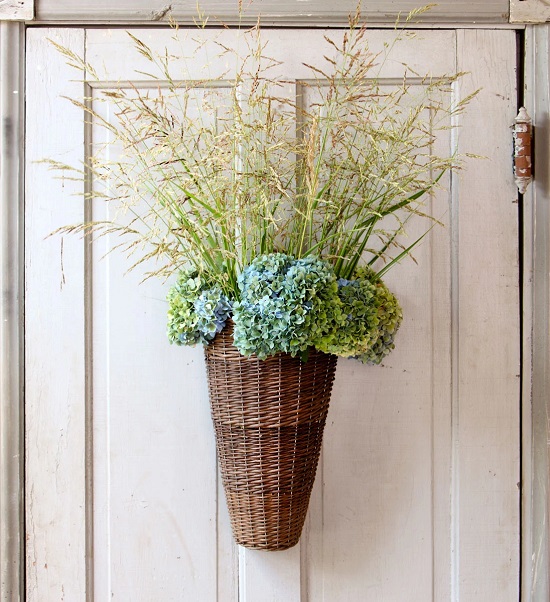
Willow Door Basket
Image Source: IronAccents.com
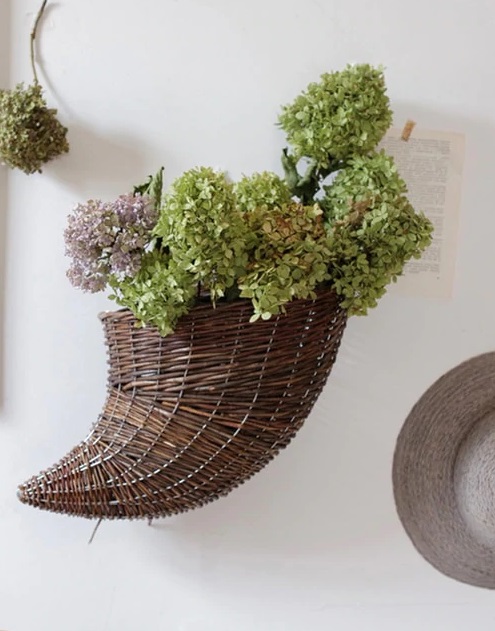
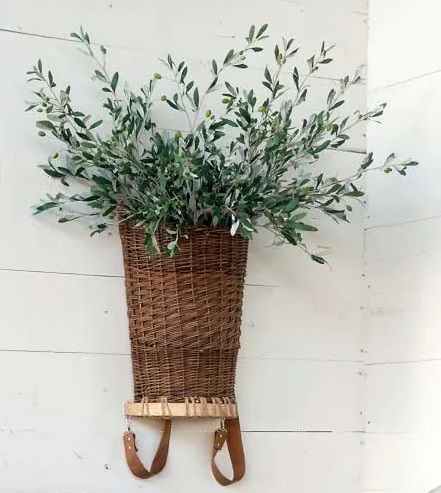
Horn Shape Willow Hanging Basket Planter.
Image Source: RusticReach.com.
Spring Tobacco Wall Basket.
Image Source: KatsCreationsNMore.com.
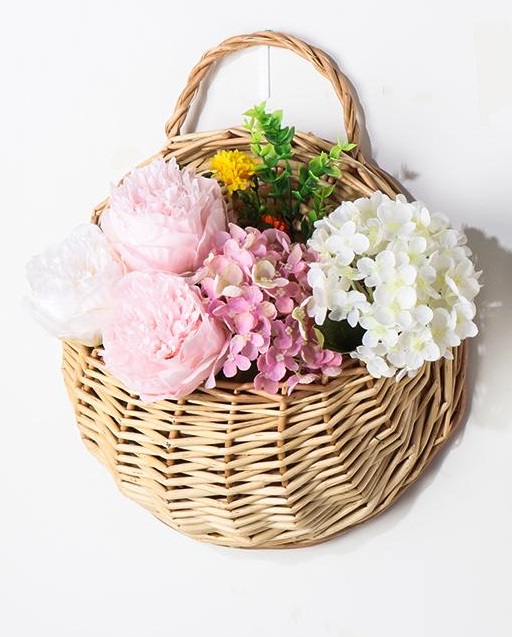
Woven Hanging Wall Basket.
Image Source: ForDeal.com.
Christmas Tobacco Wreath Basket.
Image Source: OurCraftyMom.com.
Tobacco Basket Christmas Wreath.
Image Source: SongBirdBlog.com.
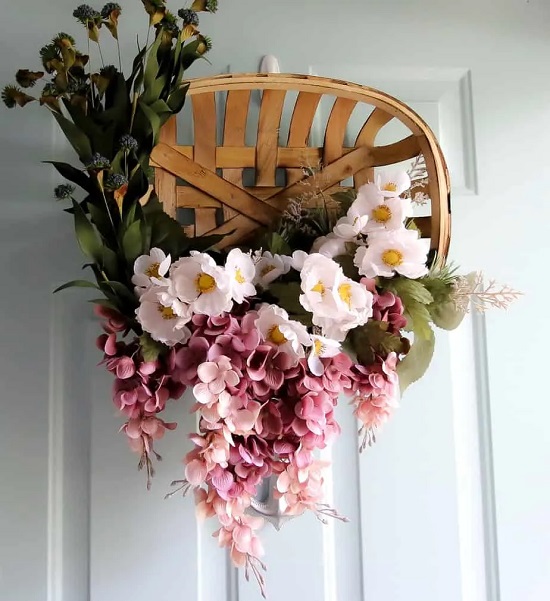
Spring Wreath Basket.
Image Source: RamblingRenovators.ca.
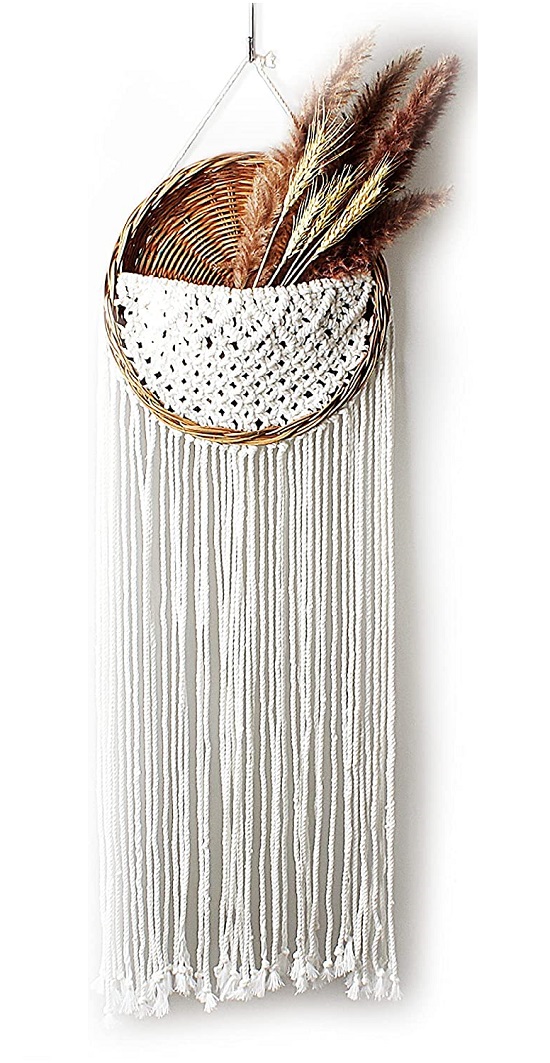
Bohemian Woven Wall Hanging Basket.
Image Source: Ubuy.co.id.
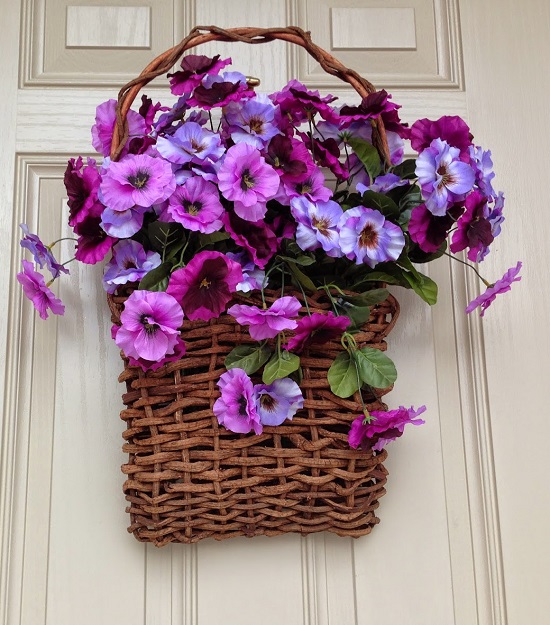
Spring Pansy Basket Door Wreath.
Image Source: PurpleHuesandMe.com.
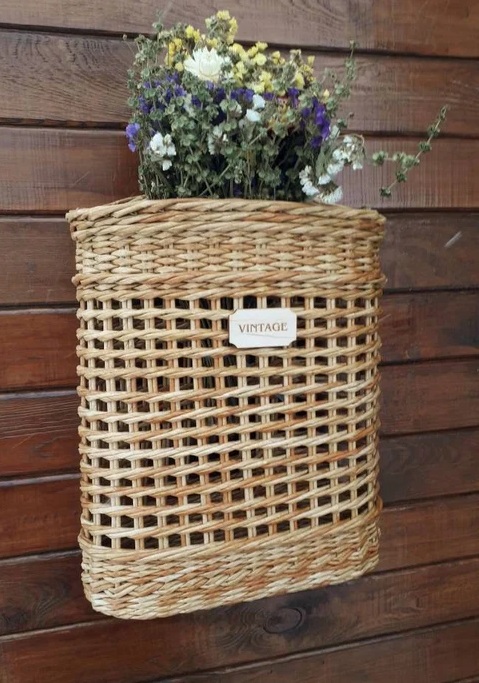
Willow Wall Hanging Basket.
Image Source: AntiqueFarmHouse.com.
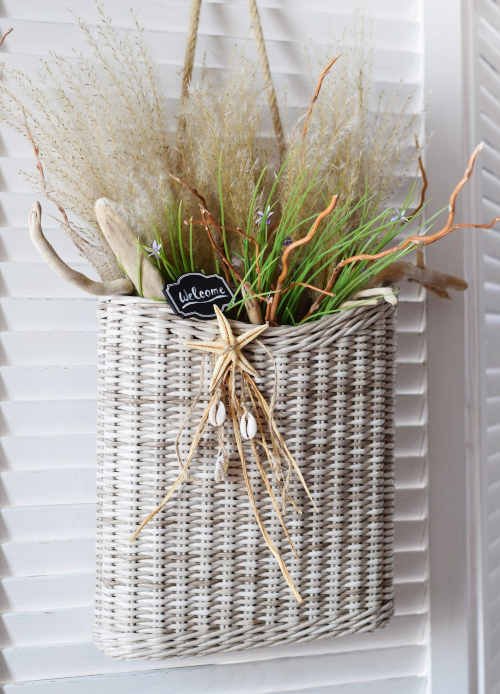
Coastal Hanging Basket.
Image Source: Completely-Coastal.com.
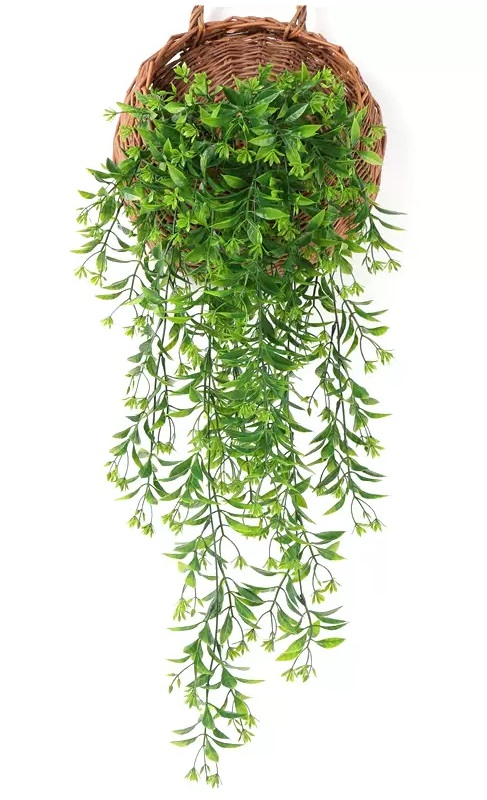
Wall Mounted Hanging Basket.
Image Source: DHGate.com.
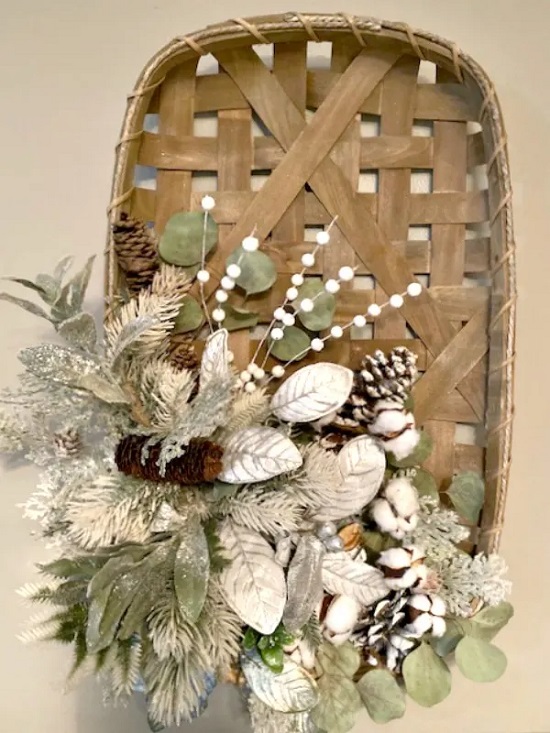
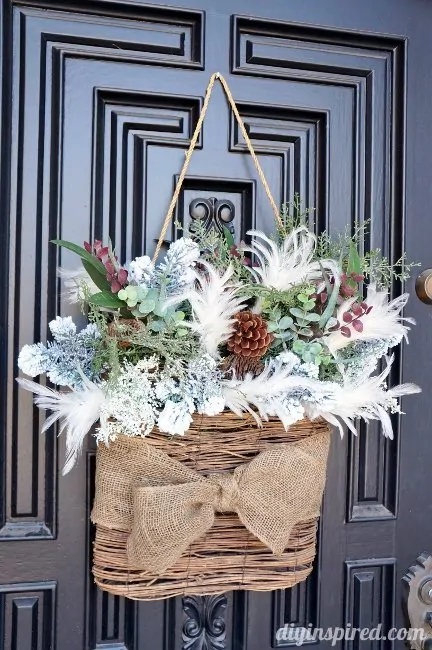
Winter Wreath Basket.
Image Source: DiyInspired.com.
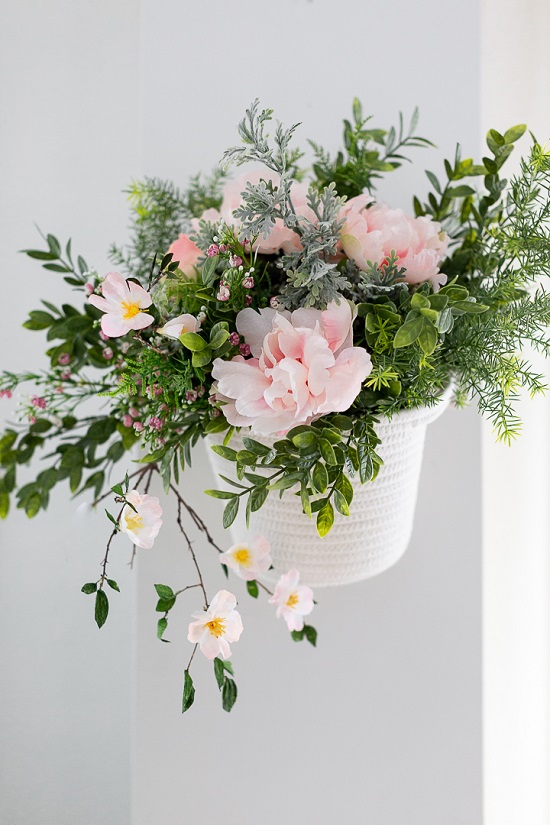
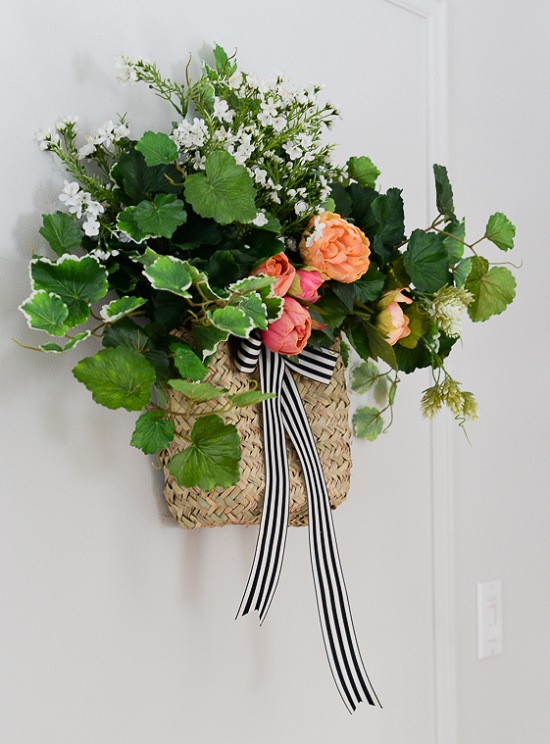
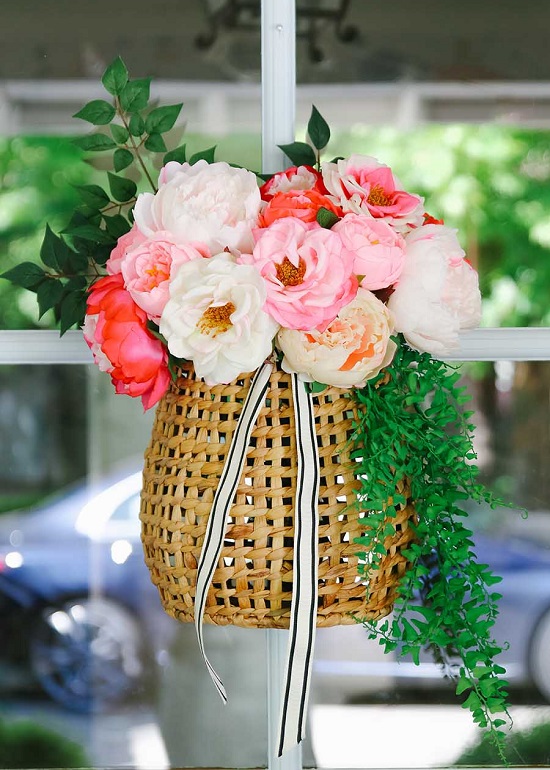
Summer Wreath Peonies. Image Source: ModernGlam.
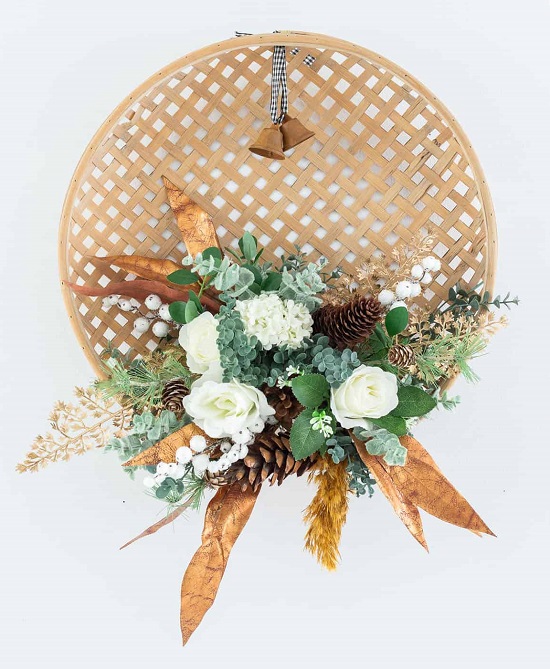
Basket Wreath.
Image Source: CraftivityDesigns.com.
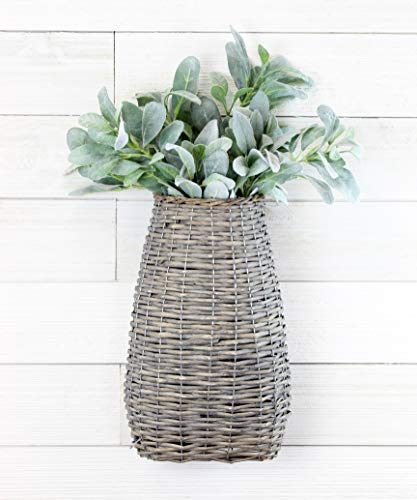
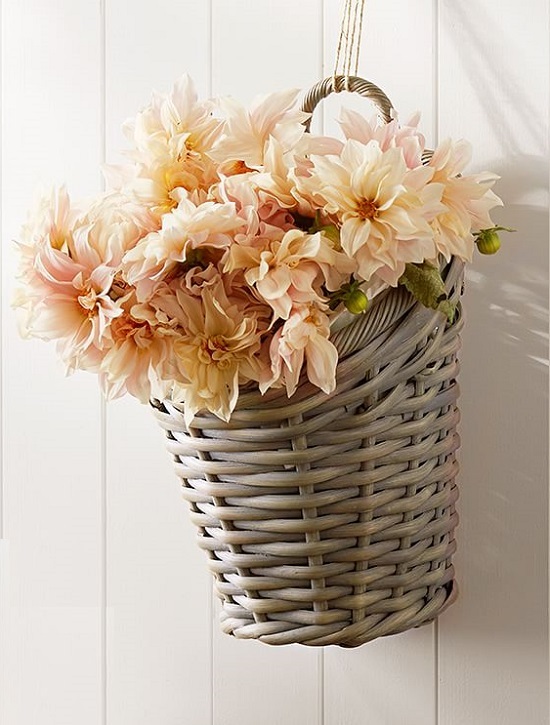
Woven Wicker Rustic Farmhouse Gray Washed Long Basket.
Image Source: WickerGuide.com.
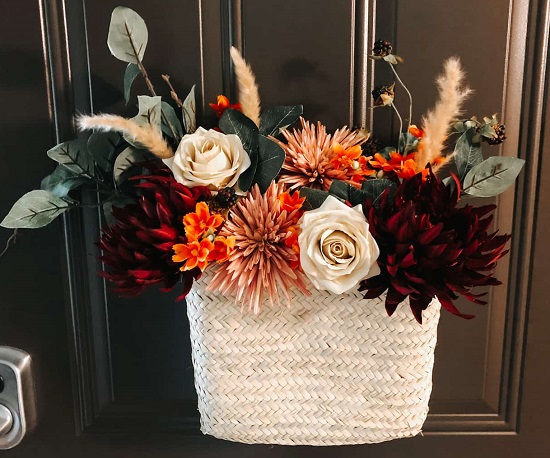
Fall Wreath.
Image Source: ThatLemonadeLife.com.
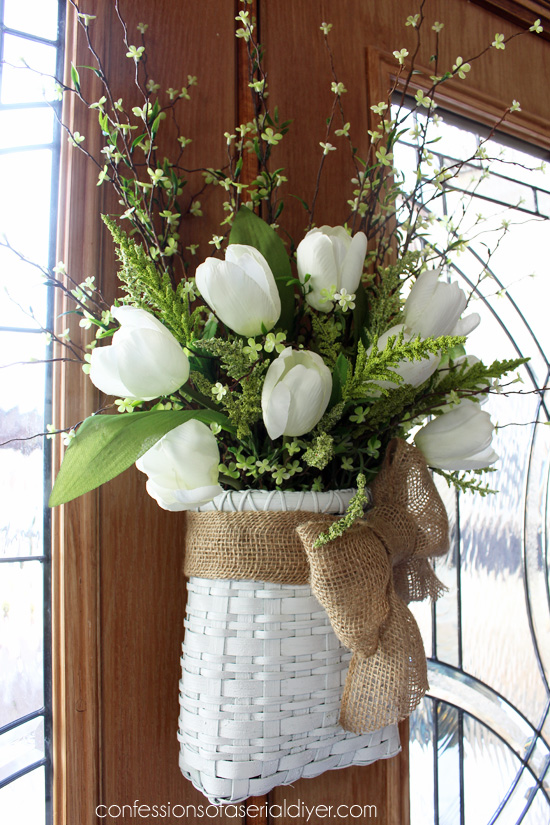
Spring Tulip Wall Basket.
Image Source: ConfessionsAfASerialdiyer.com.
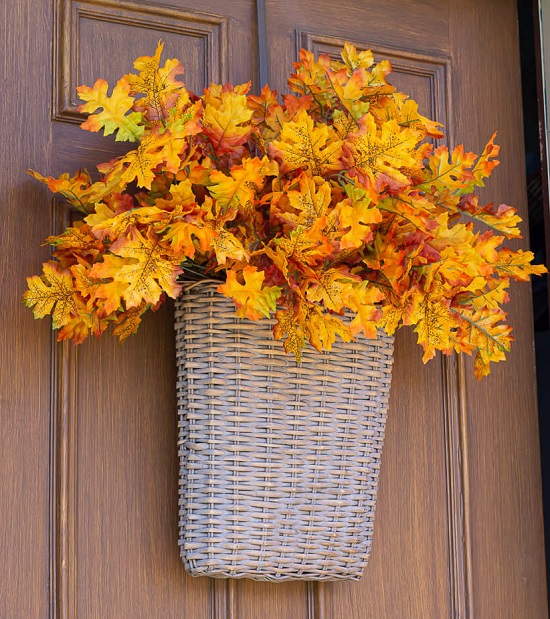
Fall Hanging Wicker Door Basket.
Image Source: InMyOwnStyle.com.
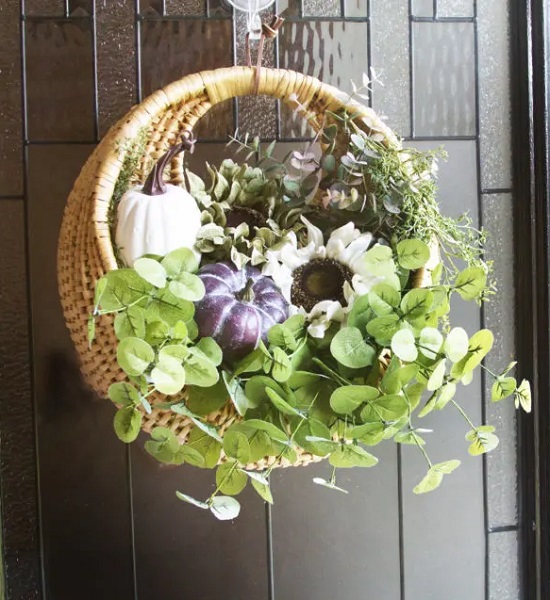
Fall Door Basket Wreath.
Image Source: ChatFieldCourt.com.
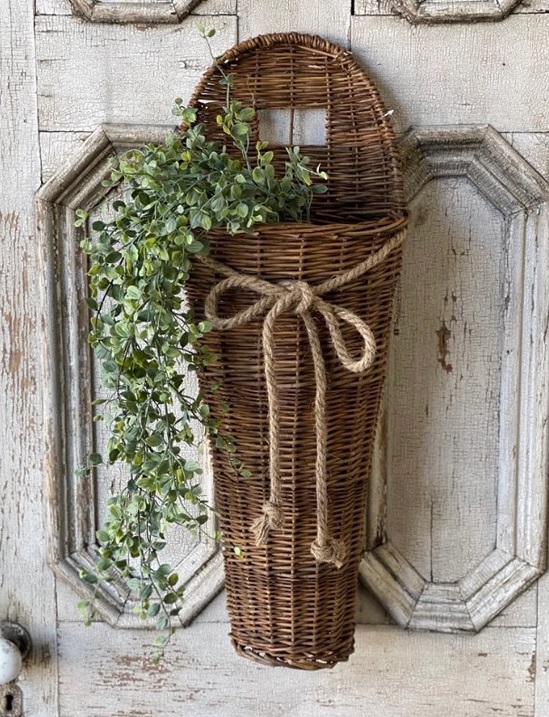
Willow Wall Basket w/Rope Bow
Image Source: InteriorDelights.net.
Weave Vine Mural Wall Basket.
Image Source: Decoratorist.com.
Tobacco Basket Wreath.
Image Source: CharlestonCrafted.com.
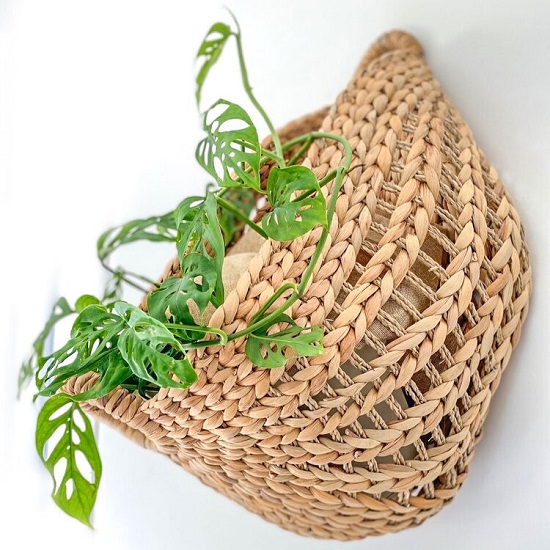
Wall Hanging Basket.
Image Source: MontaukCallala.com.
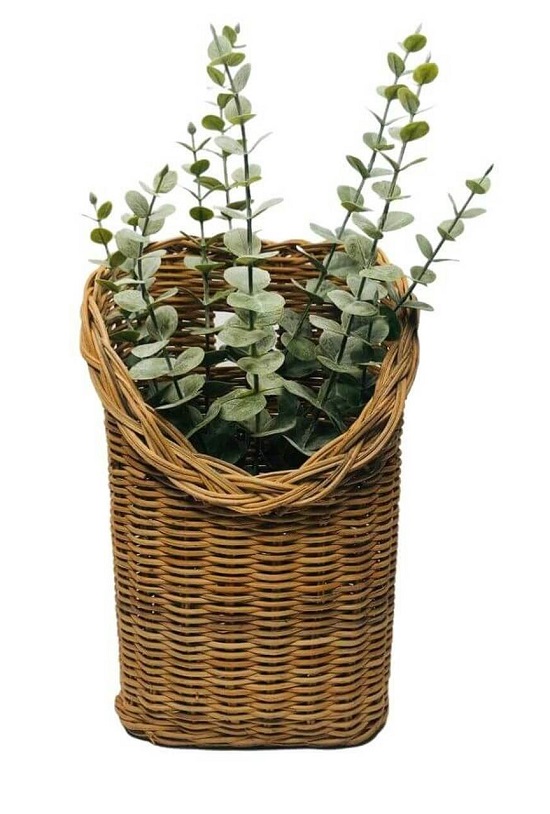
Handwoven Rattan Wicker Hanging Basket.
Image Source: TheNewEnglandTradingCompany.com.
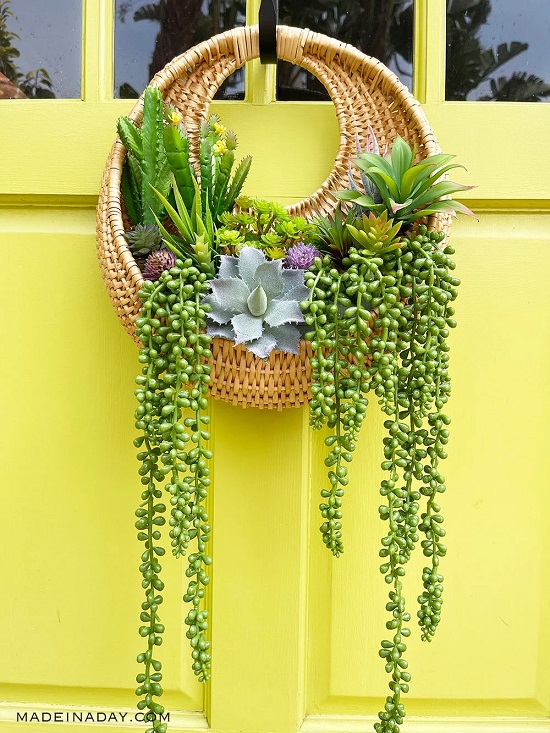
Succulent Wall Hanging Basket Wreath.
Image Source: MadeInaDay.com.
Frontal Door Wicker Wall Hanging Basket.
Image Source: geinlaean.cf.
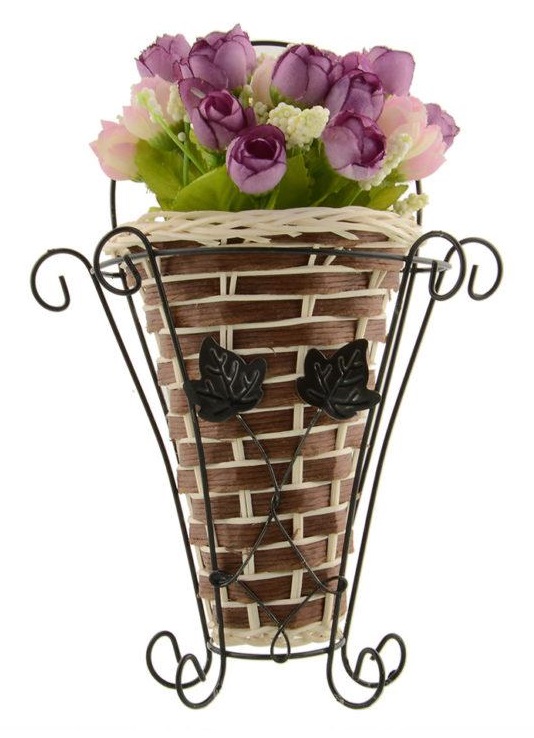
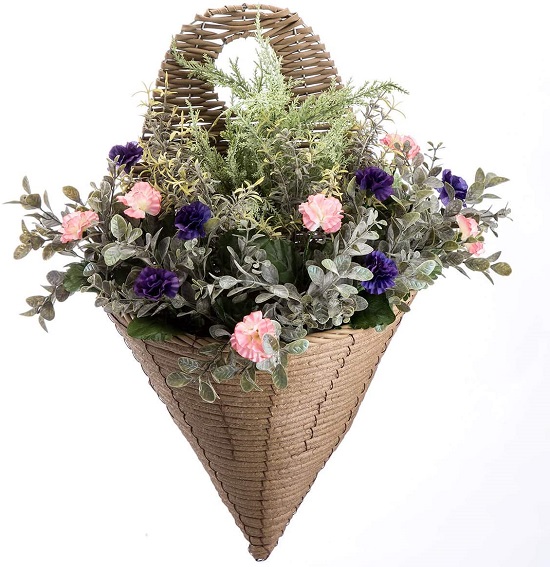
Rattan Cone Wall Hanging Basket.
Image Source: Amazon.com.
Amish Woven Wicker Hanging Basket.
Image Source: AmishBaskets.com.

I hope you’ve enjoyed this post and found inspiration.
DIY: Solar Powered Jars

EPEngineer By EPEngineer1 min read854 views

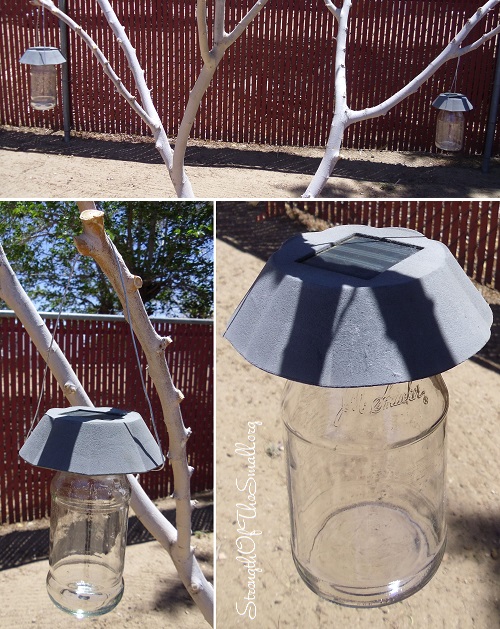
Today we gave a facelift to a set of old solar lights.

DIY: Solar Jars.
DIY: Solar Powered Jars.

Materials/Tools Needed

  • Solar Lights
  • Glass Jars
  • Screw Driver
  • Small Screws
  • Wire
  • Pliers
  • Drill and Drill Bits

Step by Steps:

  • Remove lid from Jar and drill a hole in the center of the lid for the light bulb/LED bulb to go thru
  • Remove both stake and globe off the Solar Light top
  • Remove the lid off the jar and screw the lid onto the Solar Top making sure the screws do not damage the light electronics
  • Take the wire and loop the wire around the neck of the Jar. Use the pliers to tighten up the end, shape a handle, loop the end and tighten it using the pliers.
  • Reassemble the Jar, hang and enjoy.

DIY: Primitive Garden Table

EPEngineer By EPEngineer1 min read623 views

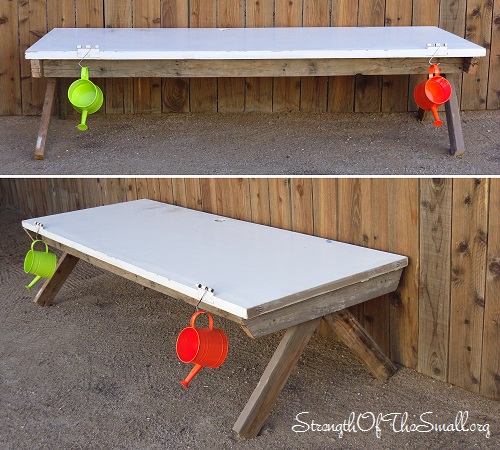
Today we decided to make use of a spare door that was laying around our storage shed. Since my daughter has been very eager to help out in the garden, I thought she would enjoy an area where she can create her own container garden. This will give her opportunities to learn about plants and how to grow them. She will also have more responsibilities in the garden as she takes pride in tending to her plants.

Being that the door is hollow in the middle I had to reinforce the edges to hold the weight it will need to hold. The base is a big rectangle that allows me to screw onto the wood pieces that are inside the door for added strength. The legs I cut onto an upside down V and screwed it to the inside of the rectangle. You can see from the pictures below how everything fits together.

Materials/Tools Needed:

  • Old Door
  • Scrap/Reclaimed Wood
  • Screws
  • Drill, Drill-bits
  • Spray Paint/Paint/Stain
  • Wood Chop Saw
  • Wood File
Primitive Garden Table.
Primitive Garden Planting Table.

My wife has always involved our children in selecting plants and lending a pair of hands or two in the garden. We will be visiting a few nurseries this weekend and we hope they will have a wonderful time choosing beautiful plants, accessories and additional gardening tools.

Allowing children to do things on their own fuels their desire to learn more and achieve more.

DIY: Reclaimed Wood Pergola

EPEngineer By EPEngineer2 min read1.4K views

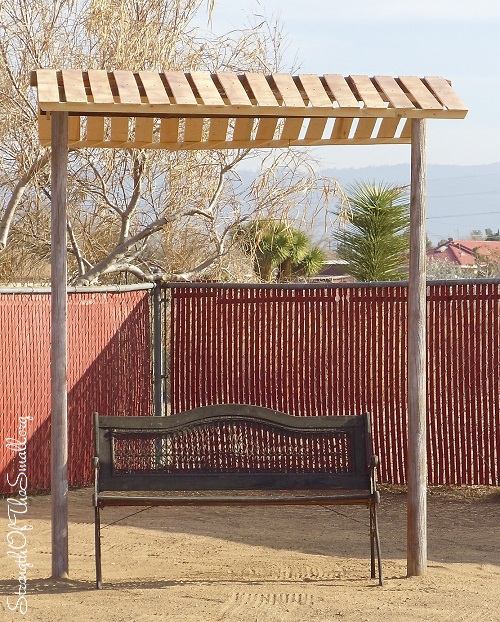
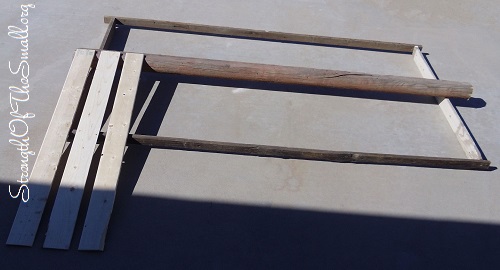
This afternoon we finished putting together a Pergola we built entirely from reclaimed wood and pieces of a dismantled wooden pallet. We decided on a canopy that not only provided some shade, but also resemble that of a water well in case we decide to change the design later on.

Mini Pergola.
Mini Pergola.

Materials/Tools Needed:

  • Scrap/Reclaimed Wood
  • Screws
  • Drill, Drill-bits
  • Cement
  • Bucket/Cement working tools
  • Spray Paint/Paint/Stain
  • Wood Chop Saw
  • Wood File

Step by step:

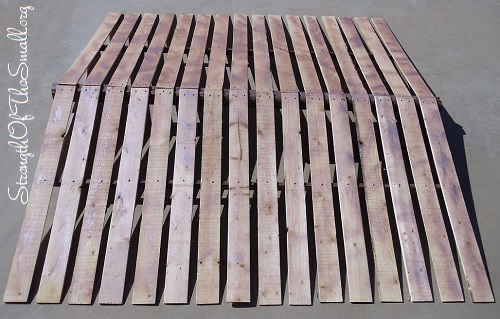
  • We used screws to fasten the pieces of wood together and used a scrap piece of wood to keep the spacing between pieces even. Once done we sprayed the top to give it a slightly weathered look.
Building The Canopy.
Building the Canopy.
Canopy.
Canopy built before the raising.
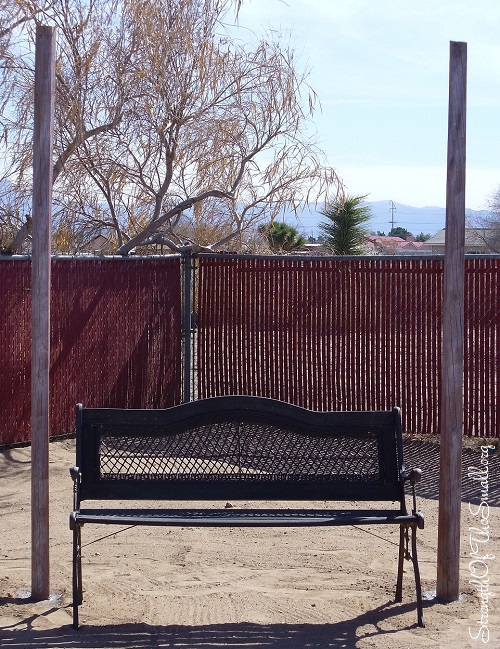
  • Once the canopy was finished we measured the distance between the two ends of the canopy to determine the post spacing. The measurement was then used to dig the holes according to the spacing. We used almost a whole 90 lb bag of cement to secure the posts. All we did was dig the holes, add water to the cement after pouring some in the bucket and mixed it. We poured it onto the hole and inserted the post making sure to keep it straight. We repeated the same steps for the second post and used a rope to tie the two posts together to maintain the spacing.
  • After 20 hrs of drying the cement was ready to take the weight of the canopy so we proceeded to lift it and place on top of the posts. We used 10 inch screw to screw the cross-piece of the canopy onto the top of the post after using a drill bit to drill a hole to guide the screw. Once screwed in, we finished fastening the rest of the canopy and did the finishing details.
Pergola Posts.
Pergola Posts.

A weekend project that we will enjoy for years to come.

DIY: Primitive Wood Bench

EPEngineer By EPEngineer1 min read896 views

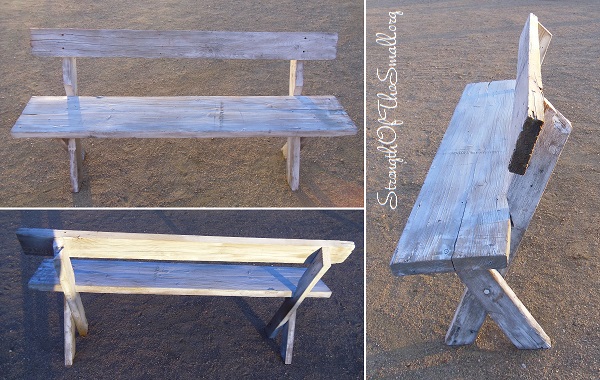
I enjoyed spending the whole day with my family outdoors today as I watched my kids running around the backyard, giggling while hunting for Grasshoppers as I was building a second Reclaimed Primitive Wood Bench. These are the days we cherished the most since the cold weather is setting in slowly but surely and we might not have an opportunity to spend time outdoors until next year.

Materials/Tools Needed:

  • Scrap/Reclaimed Wood
  • Screws
  • Drill, Drill-bits
  • Spray Paint/Paint/Stain
  • Wood Chop Saw
  • Wood File

Step by step:

  • Decide how big or small you want your bench to be
  • Decide on the design of the legs (for my bench I decided on a 30 degree angle for the cut on the legs since the bench is not deep)
  • Measure and cut your wood
  • Screw your pieces together
  • Using a wood file, file the rough/sharp edges of the wood to prevent splinters
  • Wash the bench to ensure that the paint will stick to the wood
  • Let dry and paint or stain
Reclaimed Primitive Wood Bench.

I hope you find this tutorial helpful and get creative building yours.