There is something about Solar Lights that makes them attractive. Perhaps is because they come in different shapes, sizes and forms; or simply because they are solar powered. We all hope that once these lights are placed outdoors, they would last a lifetime; sometimes however, they malfunction or stop working all together, especially after being exposed to the elements for many years.
If you love your garden solar lights, they are all worth repairing. Dead batteries, rust from water damage, damaged wiring, bad connections are some common reasons for light failures. Fixing the issues usually involve replacing the batteries, LED, driver circuit, removing the rust, protecting the wires, or simply replacing the solar cells. Lately, some of our solar lights stopped working and it took me just a couple of hours to get them running like new.
Materials Needed:
- Solar batteries
- Solar battery charger
- Wire
- Wire Cutters
- Pliers
- Duct tape
- Solar cells
- Multimeter (to test the batteries voltage)
- Soldering Iron (to solder wires together)
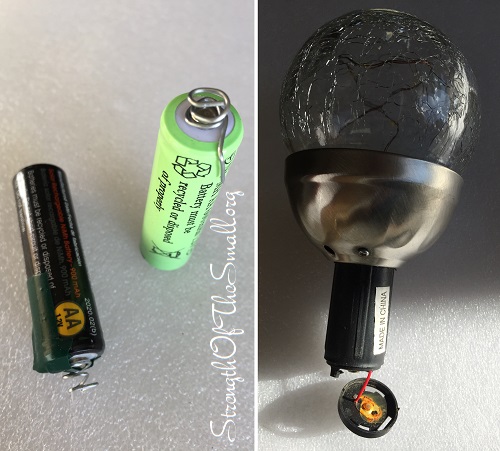
The issues we had with the Solar Crackle Ball Stake Lights is that some of the connectors were rusted (see picture above). All I did was clean and remove the rust and it turned back on. For others, the batteries were not making good contact with the circuit. All I did was increase the length of the spring by using wire and securing it with tape (as shown above).
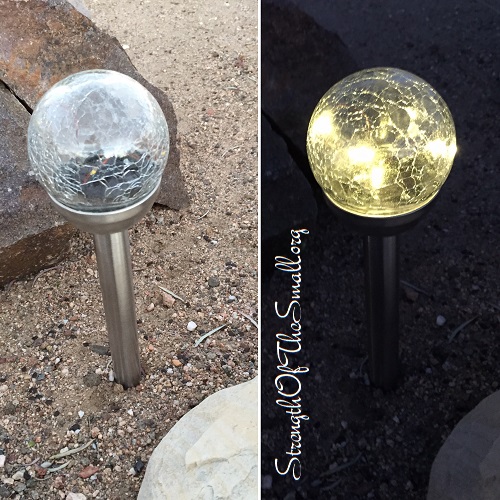
Sometimes during repairs parts get damaged, like the handle below. I was able to create a similar, stronger handle using wire.
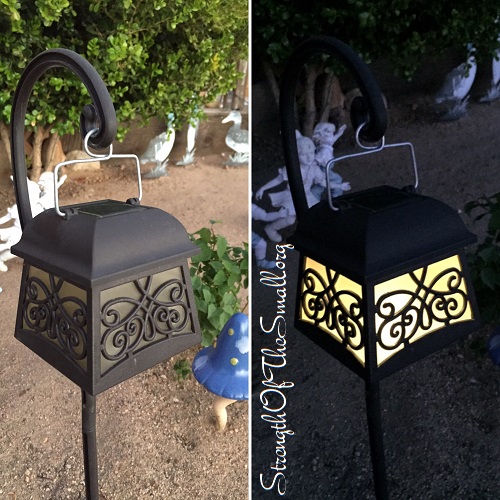
The Solar Powered Lily, Solar Blue Bell, and Solar Orange Art Glass Flowers Lawn Lights below are a few of our oldest solar powered path lights. They have faded significantly and after thirteen years, they stopped working all together. It turned out that their solar cells were damaged. All we did was purchase a few garden solar lights and swapped the solar cells and it solved the problem.
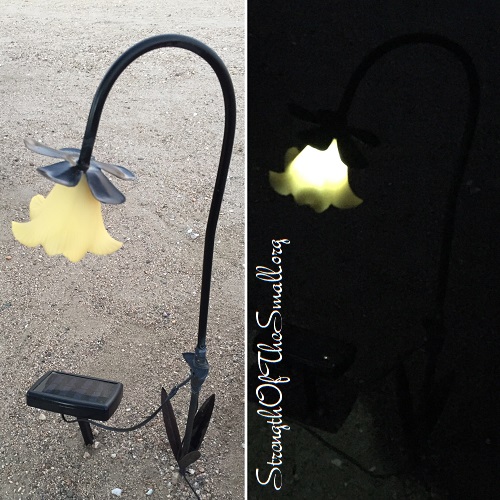
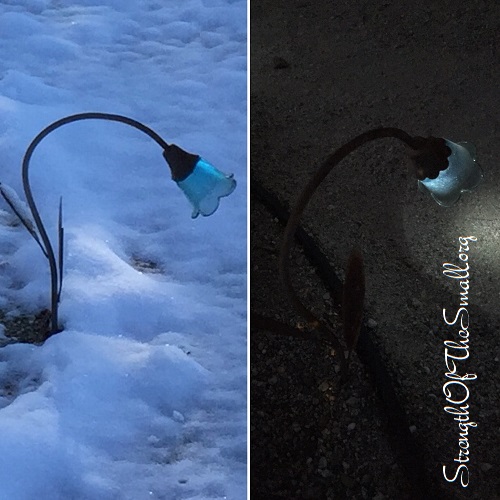
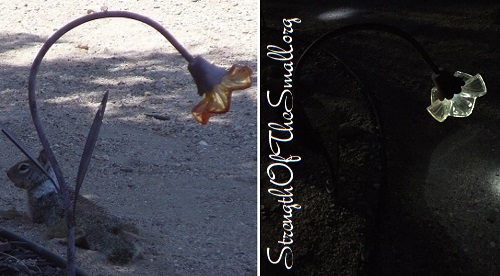
In most cases, repairing a garden solar light is quite simple.
Sometimes, you are faced with a fixture that is quite hard to open up or every single part needs replacing. At that point you are faced with either repairing the fixture or just getting rid of it and buying a replacement or something new. In my case, there were a couple of lights that had rusted out due to water damage. I took the internal circuit from a good light and soldered all the wires into the damaged one. It’s usually 2 wires going into the solar cell, 2 wires for the battery and the light/LED that need transferring. I verified it lit up afterwards and put it back together. This process will be troublesome, but if you really like the solar light, then it will be worth it.
I hope this tutorial will help you save your precious solar fixtures.
