DIY: Projects

Delightful Garden Planters

JM Perez By JM Perez2 min read1.5K views

For me, there’s nothing more fun than spending time outdoors with my family. Gardening on a beautiful day as well as building garden furniture pieces which are made from recycled wood scraps. These are some perfect activities for us and my kids learn tremendously.

Growing up, I was fascinated by wheelbarrows. We enjoyed transporting toys from one location to the other and I have fond memories of my siblings and I playing in them. Wheelbarrows make attractive planters and they are always a delight to the eyes. In building ours, we used dismantled pieces of wood and slabs we kept from the demolition of an old Stall as well as one of our smaller storage shed a couple of years ago. When it comes to creating, we are not interested in perfection; rather, we embrace the flaws in the wood and make them stand out. The character of aged wood is what gives it its charm.
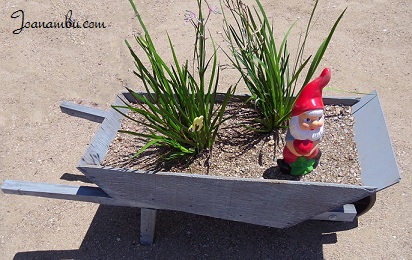
Wheelbarrow Garden Planter.

We chose to use a real wheel for easy relocation to various parts of the yard. We started by fitting the wheel and legs, then we cut all the pieces needed, nailed/screwed them together, spray-painted the finished product, drilled a few holes on the tray base to allow for drainage then we began filling it with compost, dirt and potting soil. We placed small stones on the tray base to stop the mix from leaking out and we placed a few more on top of the mix (in lieu of) to help retain moisture. Plants in the wheelbarrow are Anigozanthos.
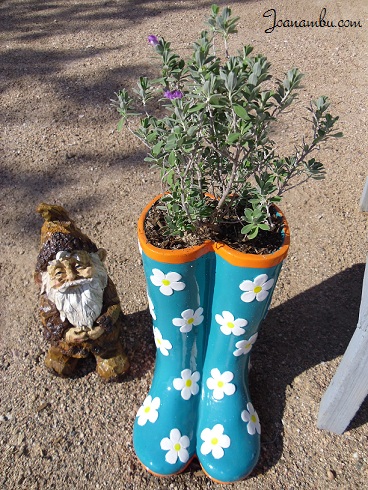
Ceramic Rain Boots Garden Planter.

Plants in the Ceramic Rain Boots are Texas Sage.
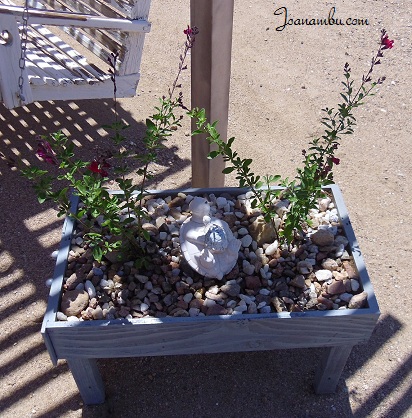
Raised Drawer Garden Planter.

Plants in the Raised Drawer Planter are Red Autumn Sage.

With endless possibilities on how you can decorate your yard and garden, a little creativity can turn an unappealing yard into an enchanted retreat.
Kitchen Cabinet Facelift {Quick Fix}

JM Perez By JM Perez2 min read783 views

We have been busy lately working around the house (the backyard mostly).  So much trash, debris and dead trees have been left behind by the last tenants that cleaning up has become overwhelming. At the same time, we are enjoying our darling little boy while familiarizing ourselves with the area.

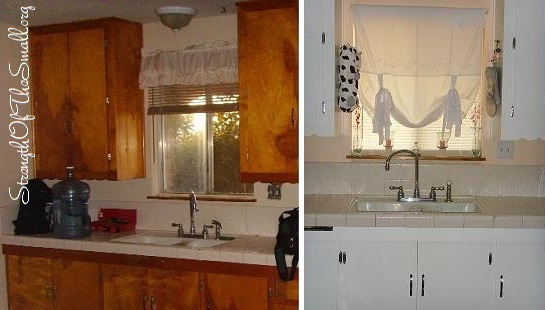
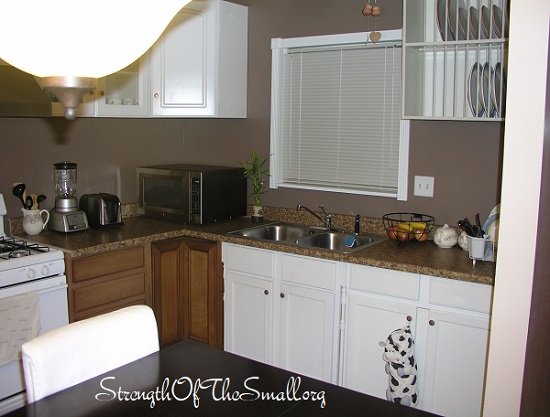
Giving our busy schedules, we have been unable to install new cabinetry. However, we did the next best thing, which is giving the kitchen cabinets a new facelift (a quick fix until we are ready to tackle the big project).
I love vintage cabinets with gorgeous edging; however, given that we have a tiny kitchen, the Maple color not only made it look even smaller, but ugly too. We painted the cabinets white.

Kitchen Cabinet Facelift, 2007 (Quick Fix).
Kitchen Cabinet Facelift, 2008 (Renovation in Progress).

Materials/Tools Needed:

  • Screw driver (to take down the hinges and handles on the doors and put them back up)
  • Your choice of Paint/Spray Paint
  • Paintbrush/Sponge brush (if you’re using Paint and not Spray Paint)
  • Painter’s Tape (if the wall and ceiling colors are not the same as the one you’ll be using for your cabinets)
  • Cardboard, plastic bag, news papers (to place your cabinets doors on)

How to proceed:

  1. Use your screw driver to unscrew the hinges to take down the doors and place them on your work area.
  2. Clean the cabinets to ensure the paint will latch on evenly.
  3. Start painting in a well ventilated area and let it dry at least one hour.
  4. When you’re done and satisfied, screw the hinges and handles back in place.

You are now ready to enjoy your kitchen cabinets until you decide to install new ones.